iOS 라이브러리를 CocoaPods, SPM, Carthage에 배포하는 법을 알아보겠습니다.
예제 깃허브 : https://github.com/Goeun1001/GEAudioPlayer
---- 목차 ----
1. 프로젝트 생성
2. SPM 배포
3. CocoaPods 배포
4. Carthage 배포
1. 프로젝트 생성
pod lib create로 생성하는 방법도 있지만 저는 Swift Package로 생성하겠습니다.

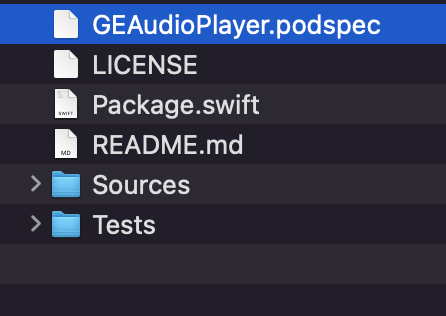
입력한 패키지의 이름으로 Package.swift가 구성되고 Sources와 Tests 폴더가 생깁니다.
Sources에 본인의 라이브러리 소스 코드를 넣고, Tests에 테스트코드를 넣으면 됩니다.
2. SPM 배포
SPM에 배포하기 위해서는 Package.swift를 잘 설정해야 합니다. 처음 생성 시에는 아래와 같습니다.
// swift-tools-version:5.5
// The swift-tools-version declares the minimum version of Swift required to build this package.

import PackageDescription

let package = Package(
    name: "GEAudioPlayer",
    products: [
        // Products define the executables and libraries a package produces, and make them visible to other packages.
        .library(
            name: "GEAudioPlayer",
            targets: ["GEAudioPlayer"]),
    ],
    dependencies: [
        // Dependencies declare other packages that this package depends on.
        // .package(url: /* package url */, from: "1.0.0"),
    ],
    targets: [
        // Targets are the basic building blocks of a package. A target can define a module or a test suite.
        // Targets can depend on other targets in this package, and on products in packages this package depends on.
        .target(
            name: "GEAudioPlayer",
            dependencies: []),
        .testTarget(
            name: "GEAudioPlayerTests",
            dependencies: ["GEAudioPlayer"]),
    ]
)
여기에 지원 버전과 플랫폼을 추가해줍니다. 주석과 dependency는 지워주었습니다.
// swift-tools-version:5.5
// The swift-tools-version declares the minimum version of Swift required to build this package.

import PackageDescription

let package = Package(
    name: "GEAudioPlayer",
    platforms: [
        .iOS(.v11)
    ],
    products: [
        .library(
            name: "GEAudioPlayer",
            targets: ["GEAudioPlayer"]),
    ],
    targets: [
        .target(
            name: "GEAudioPlayer",
            dependencies: []),
        .testTarget(
            name: "GEAudioPlayerTests",
            dependencies: ["GEAudioPlayer"]),
    ]
)
Package.swift를 다 설정하였다면 패키지가 잘 실행되는지 빌드 혹은 테스트를 돌려봅시다.
$ swift build$ swift test
준비가 다 되었다면 깃허브에 퍼블릭으로 올려줍니다. 또한 태그를 달아주면 의존성을 버전으로 설정할 수 있습니다.
$ git tag 0.0.1
$ git push origin 0.0.1
SPM에 배포가 완료되었습니다!
3. CocoaPods 배포
CocoaPods에 배포하기 위해서는 Package.swift처럼 (프로젝트이름).podspec 이라는 파일로 여러가지를 설정해주어야 합니다.
프로젝트 폴더에 (프로젝트이름).podspec를 만들고 아래 코드를 추가해줍니다.
라이브러리명, 버전, 깃허브 주소, 유저 등을 라이브러리에 맞게 바꿔주시면 됩니다.
#
#  Be sure to run `pod spec lint EmojiPicker.podspec' to ensure this is a
#  valid spec and to remove all comments including this before submitting the spec.
#
#  To learn more about Podspec attributes see https://guides.cocoapods.org/syntax/podspec.html
#  To see working Podspecs in the CocoaPods repo see https://github.com/CocoaPods/Specs/
#

Pod::Spec.new do |spec|
  spec.name         = "GEAudioPlayer"
  spec.version      = "0.0.1"
  spec.swift_version = "5.0"
  spec.summary          = 'A simple audio player for tutorial.'

  spec.description      = <<-DESC
This library will be used for Tutorial
                       DESC

  spec.homepage     = "https://github.com/Goeun1001/GEAudioPlayer"
  spec.license      = { :type => "MIT", :file => "LICENSE" }
  spec.author             = { "Goeun1001" => "gogo8272@gmail.com" }
  spec.ios.deployment_target = '11.0'
  spec.source       = { :git => "https://github.com/Goeun1001/GEAudioPlayer.git", :tag => "#{spec.version}" }
  spec.source_files  = "Sources/**/*"
end
위 스펙이 잘 작성되어 배포할 준비가 되었는지 명령어를 쳐서 알아봅시다.
$ pod spec lint
통과했다면 배포 전에 CocoaPods 계정 설정을 해주어야 합니다.
$ pod trunk register (이메일) (이름)
확인이메일을 클릭해서 확인하면 됩니다.
이제 CocoaPods에 배포하면 됩니다!
$ pod trunk push (라이브러리명).podspec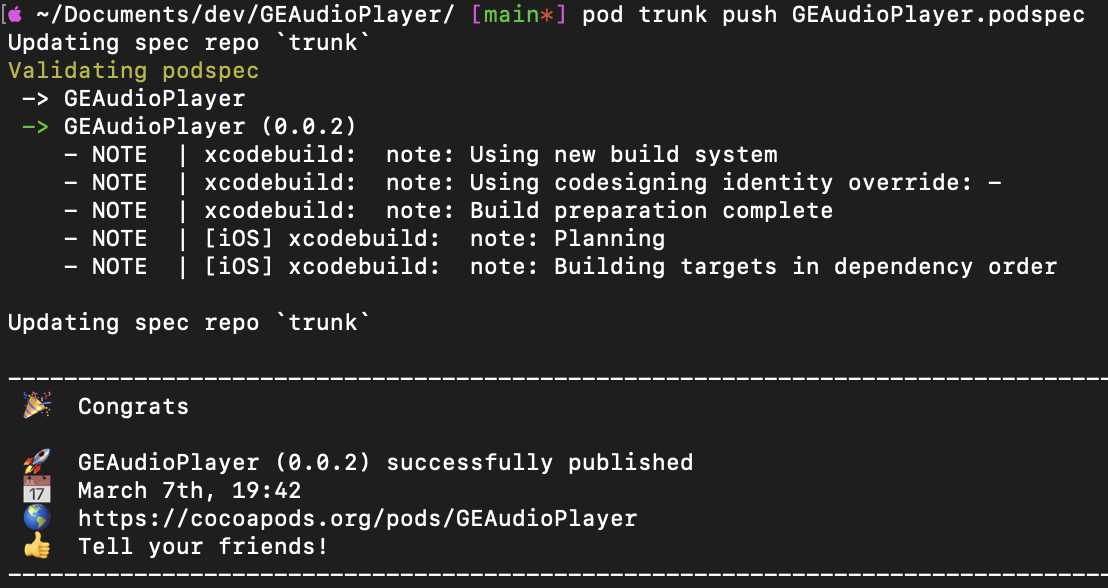
4. Carthage 배포
아래 명령어를 치면 xcodeproj가 생성됩니다.
$ swift package generate-xcodeproj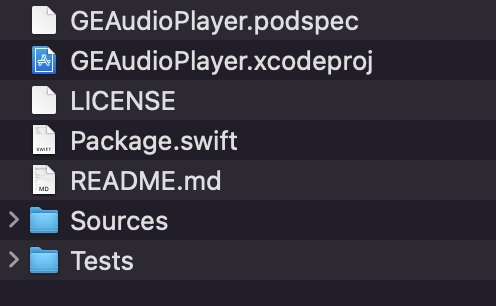
프로젝트를 열고 Manage Schemes... 를 클릭합니다.
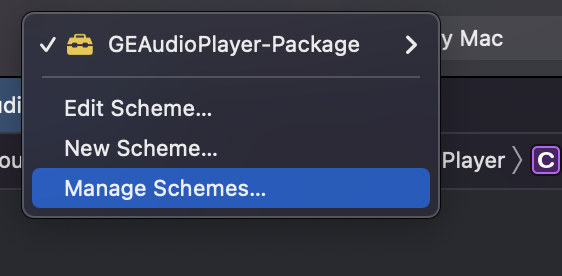
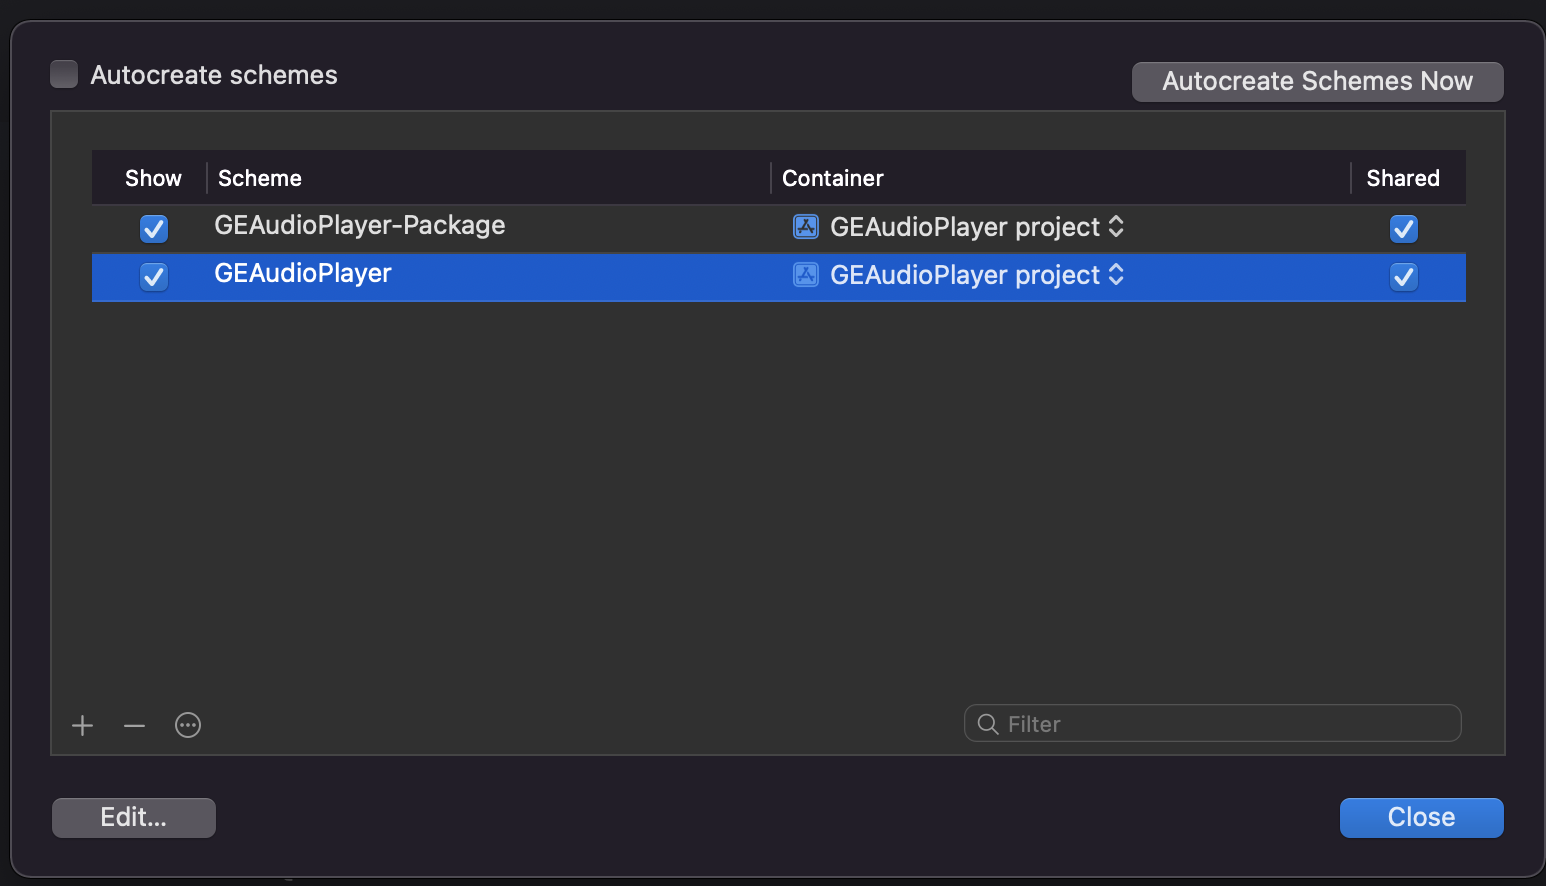
현재는 (프로젝트명)-Package Scheme만 있습니다. 따라서 좌측 하단의 + 버튼을 눌러 (프로젝트명) 타겟을 추가해줍니다.
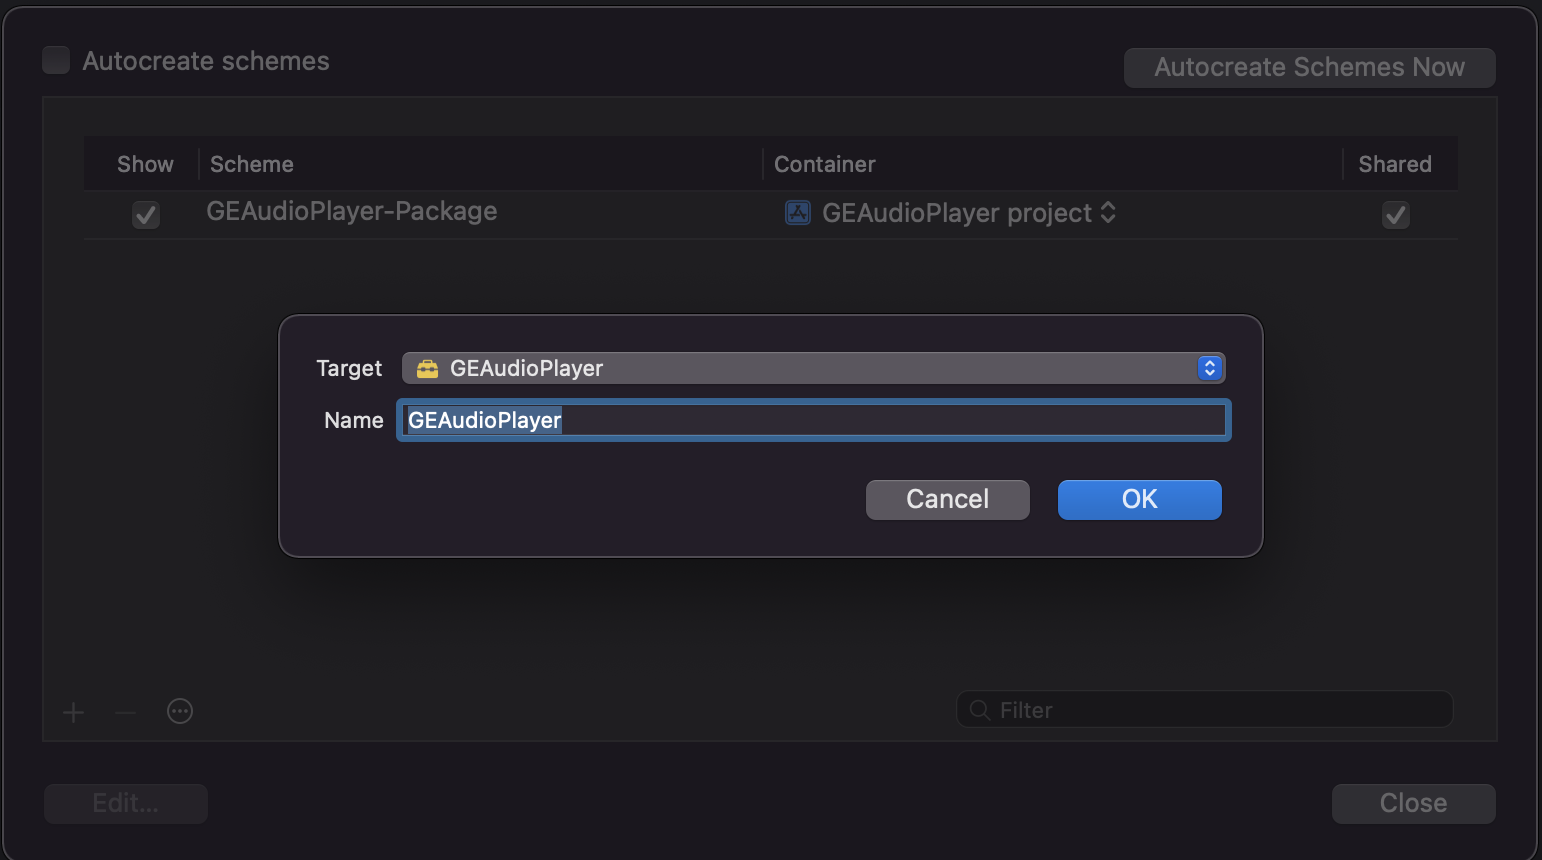
타겟의 오른쪽에 Shared 체크박스가 모두 체크되어 있어야 carthage로 배포할 수 있습니다.
깃허브에 .xcodeproj를 커밋하면 carthage 배포가 완료된 것입니다.
예제 프로젝트에서는 아래 명령어와 Cartfile을 통해 Carthage로 배포된 것을 확인할 수 있습니다.
----- Cartfile ----
github "Goeun1001/GEAudioPlayer"
$ vi Cartfile
$ carthage update --platform iOS
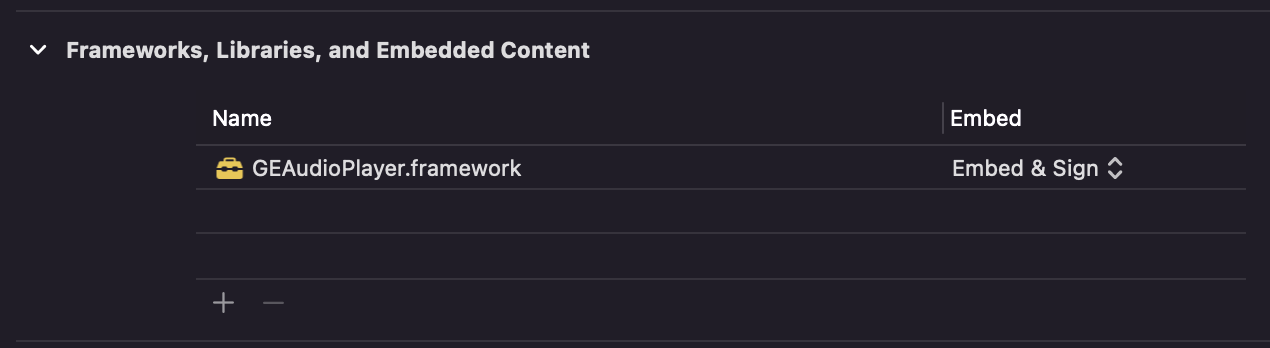
Carthage -> Build -> iOS 폴더에 있던 GEAudioPlayer.framework를 데모 프로젝트에 추가해주었습니다. 카르타고 배포 끝!
오류 혹은 질문은 댓글 남겨주세요.
'ios' 카테고리의 다른 글
| How to show <private> in os_log (0) | 2022.05.10 |
|---|---|
| GCD에서 의도치 않은 교착상태를 피하는 법 (0) | 2021.12.22 |
| DispatchQueue 교착상태 (0) | 2021.12.22 |
| DispatchQueue 종류 세 가지 (0) | 2021.12.21 |
| 동기/비동기, 직렬/동시 (0) | 2021.12.21 |


댓글